
From the Blender viewport to a presentation set, no export chain.
Send the scene capture, references and a brief from the add-on — produce concept, interior and exterior variations without leaving Blender.
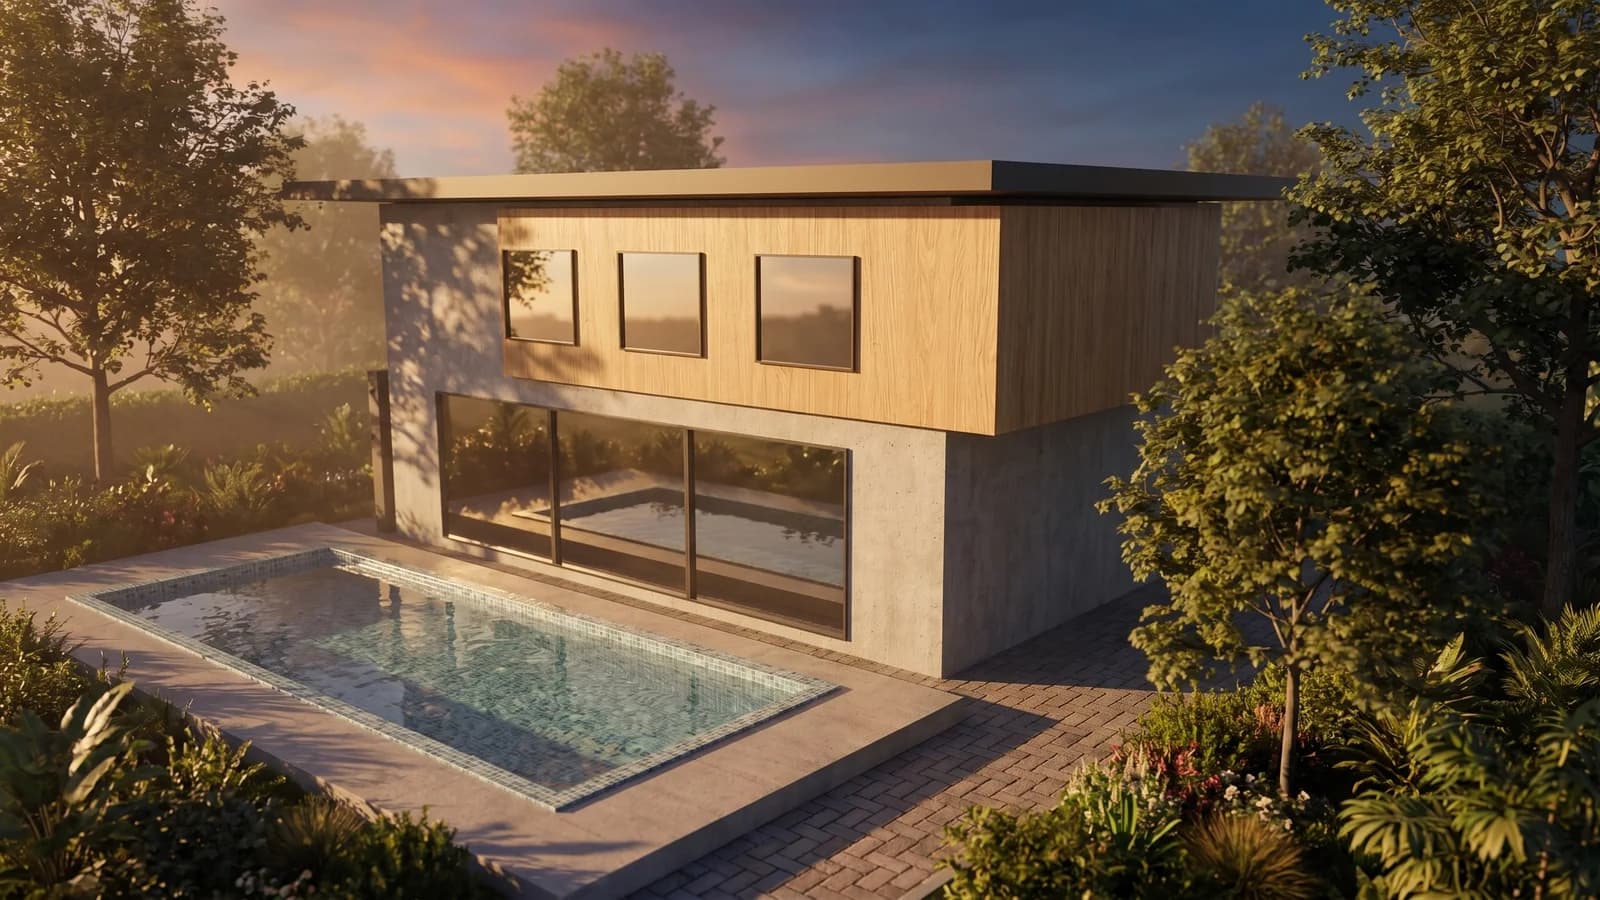 Blender 5.1 — View to Render, single attempt
 Model, panel and result on one screen
 Panel: account, scene, preset, credit estimate
The add-on doesn't pull you out of the scene
You send the frame from inside Blender — no exporting a file to another tool.
One flow from concept to facade
Interior, exterior and mood experiments all move through the same add-on flow.
A strong frame from an early scene
Even a rough blockout-stage scene can produce direction-setting concept frames.
Example Outputs
Sample frames from this workflow.
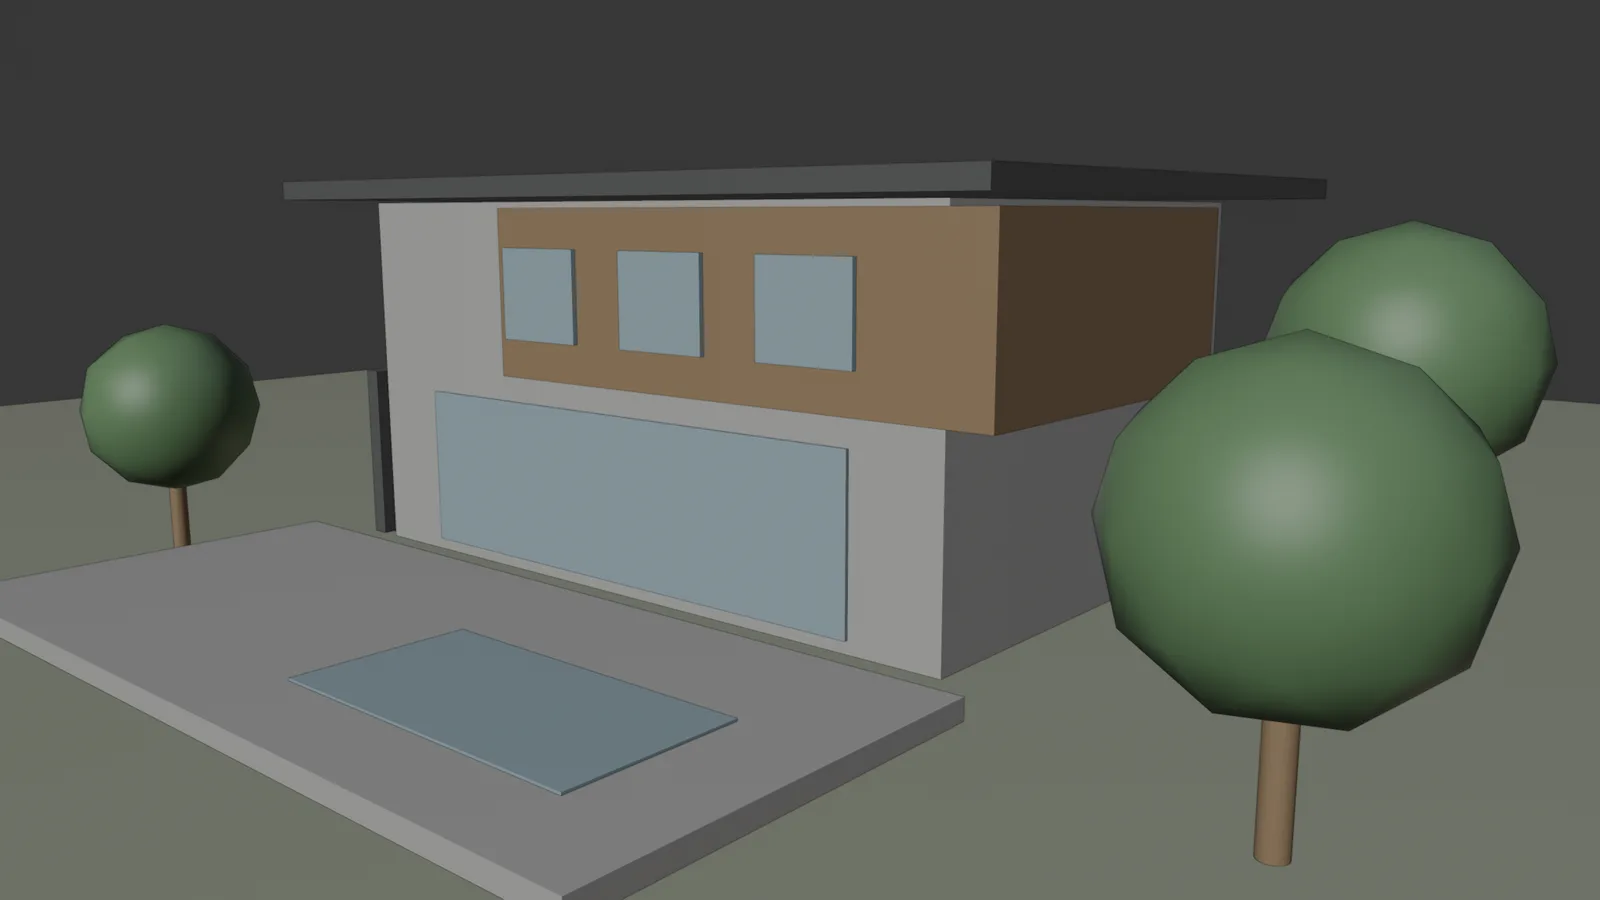
Left: the viewport as captured by the add-on (2048 px). Right: the View to Render preset, one attempt; brief: "warm late-afternoon light, light oak cladding, lush garden". Camera, massing and pool position are preserved.
Model, panel and result on one screenPanel: account, scene, preset, credit estimate Model settings and result
How It Works
From brief to output in three steps.
- 01
Frame the shot
Pick the scene's main frame; add style references and a short target note.
Input: Blender viewport image or render draft, The scene's camera and composition, Reference mood and style images, A short target-output note and use case
- 02
Send it via the add-on
The image, references and brief go out from the add-on panel; variations arrive without leaving Blender.
- 03
Use the set
Pick the strongest frames for a concept presentation, client revision or sales material.
Output: Fast AI render and concept variations, Alternative image sets ready for presentation, Comparison output that speeds up decision meetings
Scenarios
Where it's used in the field.
- Concept presentations and competition prep
- Interior style variations
- Exterior atmosphere and material tests
FAQ
Frequently asked questions
- Where is the Blender add-on most useful?
- It delivers the biggest gains at concept-direction selection, first presentation and fast revision moments.
- Is it only for architectural use?
- The flow is built for architectural visualization — it's especially relevant for interior, exterior and design concept work.
- Is it good enough for presentation quality?
- With the right scene and brief it delivers strong presentation output; still evaluate your final delivery pipeline separately.