
Take your SketchUp or Revit render to V-Ray quality — without changing the composition
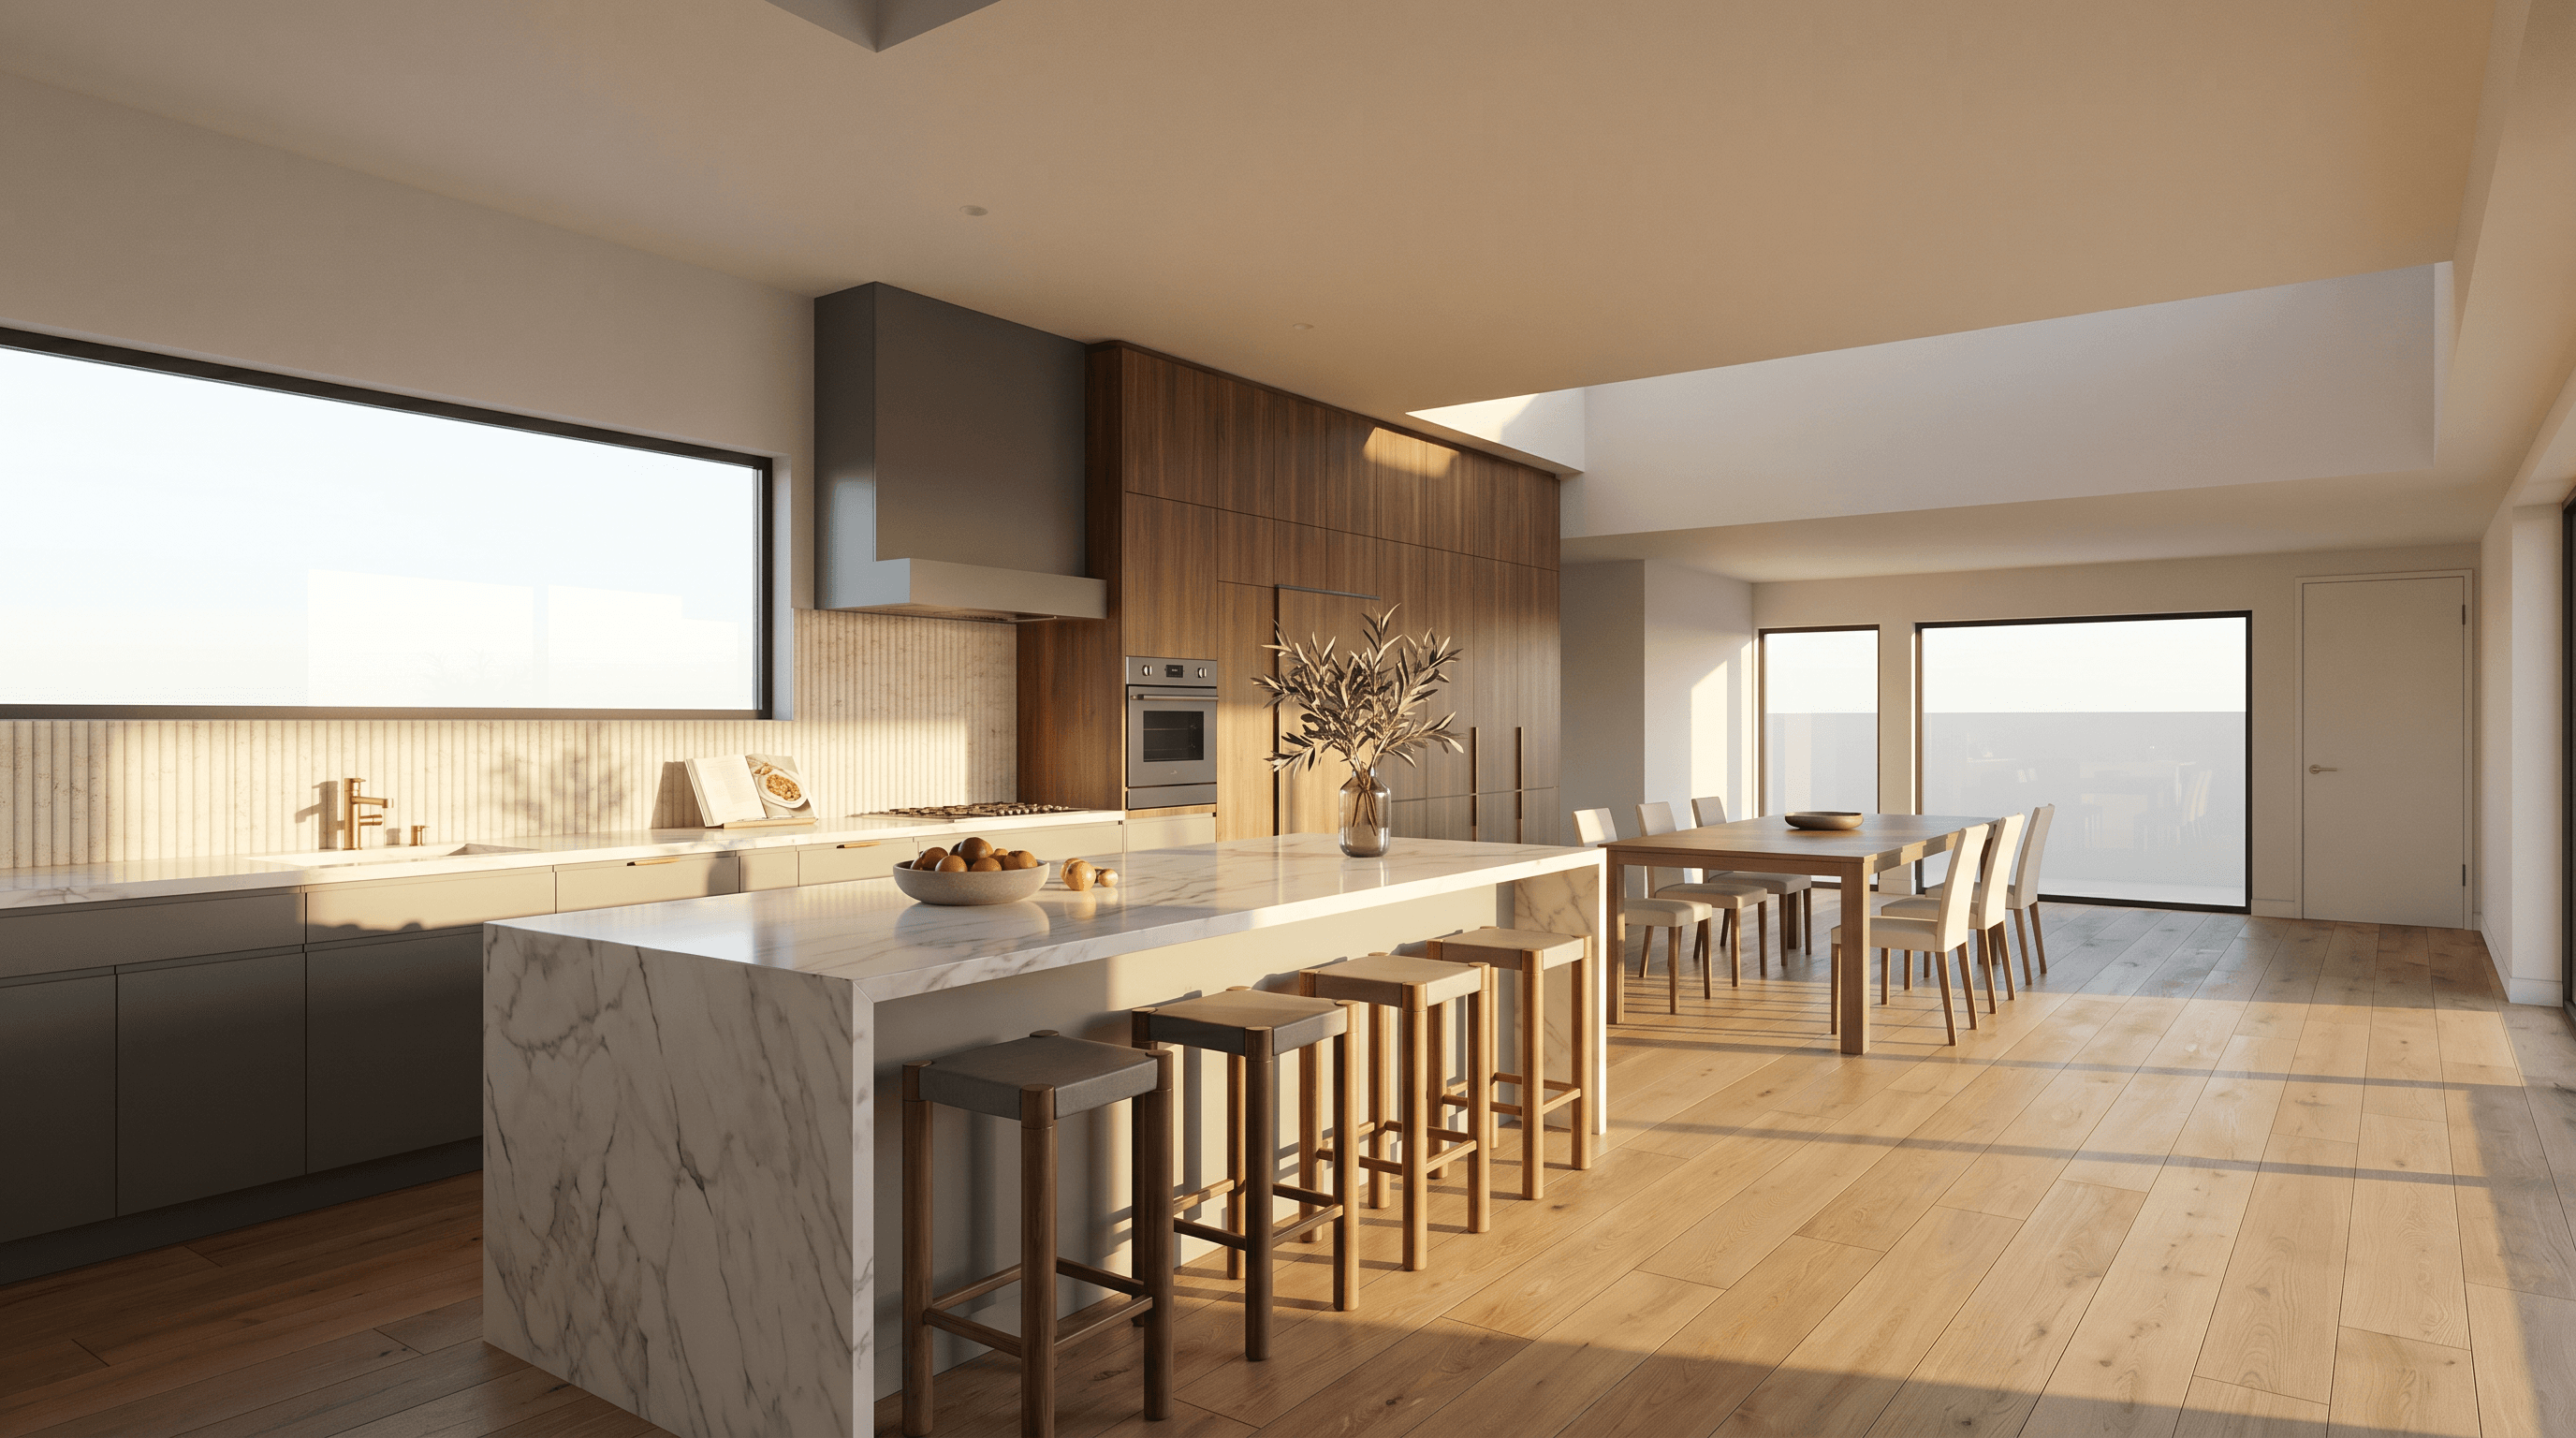
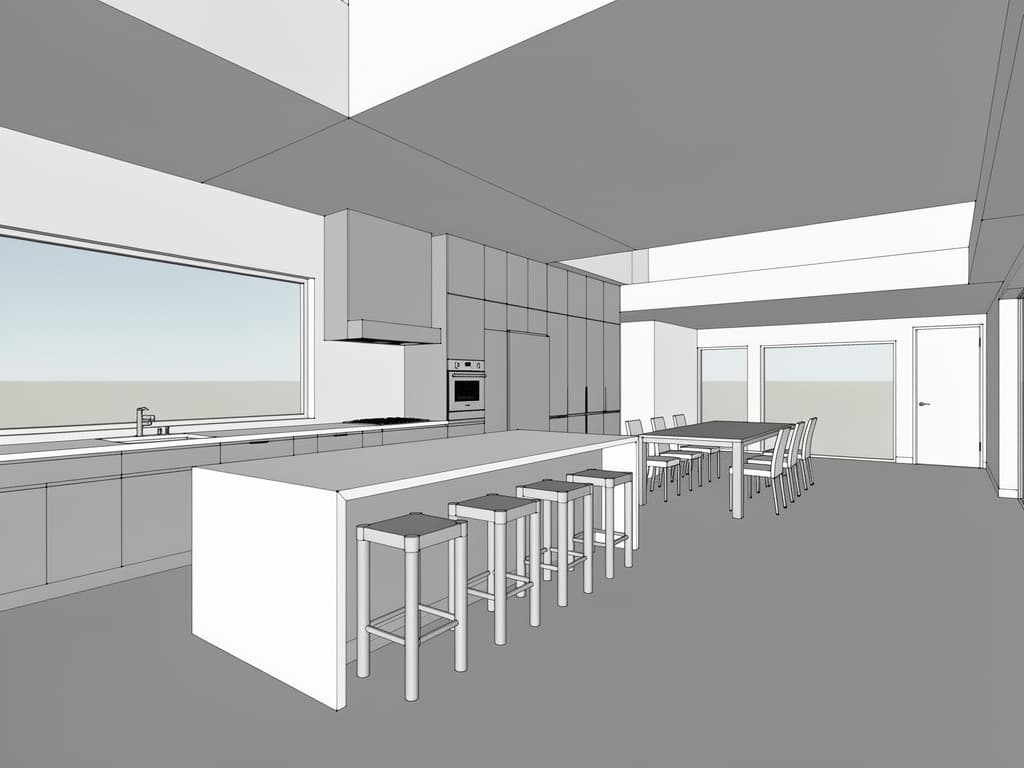
The Add Realism preset preserves your existing low-quality render's composition and camera angle while elevating material quality, light distribution, shadow character, and color grading. It turns the 'plastic' look of SketchUp's or Revit's default render engine into an archive-worthy V-Ray/Corona-quality image.
Why this preset
From the soft plastic look of a default render engine to a magazine-cover image in one step
Taking an existing render to magazine-cover quality without re-rendering it. It earns its place in scenarios like these:
- Turning a SketchUp default render into a presentation image
- Turning a Revit 3D view screenshot into a photorealistic render
- Bringing an old render up to current standards without reprocessing it
- Presentation quality for student projects without a V-Ray license
How it works · 4 steps
The Add Realism pipeline, step by step
The classic workflow means V-Ray material editor + new lighting rig + post-production (Photoshop color grade) → 3-8 hours; with the Syntina Add Realism preset it becomes Render + preset + brief → ~25 seconds.
- 01
Upload your render or viewport image
Whatever quality you have on hand — a SketchUp shaded viewport, an old V-Ray render, a Revit 3D view — can be your starting point. Upload at the highest resolution available.
- 02
Select the Add Realism preset
Choose the preset from the panel. It's calibrated to hold composition fixed and elevate only the material and light layer.
- 03
Specify the atmosphere and material direction
Write the target atmosphere in the prompt: 'warm late-afternoon, marble and walnut, V-Ray magazine look.' This brief steers material choices; the composition stays fixed.
- 04
Add the result to your presentation or upscale it
An elevated render is ready in seconds. If you need 4K/8K for a panel, upscale it with the Enhance preset.
Tip · The input render's camera angle needs to be set up correctly — the preset doesn't fix the camera, it only elevates material and light.
Tip · Very dark or very bright inputs strain the preset; a mid-tone render is the ideal starting point.
Tip · Keep the atmosphere brief short but specific — 'warm golden hour' gives a far better result than a vague 'make it look better' request.
Limit · The preset doesn't change geometry — missing objects in the input render (walls that look absent, furniture floating in space) will still be a problem in the output.
Limit · If input resolution is below 1024px, it pushes the limits of upscale quality; use a larger-than-ideal input.
Limit · For very modern/minimalist renders, the preset can apply its own material decisions aggressively — write a detailed brief if you need a specific brand or studio style.
AI models · 5 options
Which AI models does Add Realism run on?
You can run the same preset on different models — economical ones for quick drafts, premium photorealism for client presentations. Model costs are charged as credits; the credit system page lists the equivalents.
- GPT Image 1.5 EditStandardDefaultFast, economical and consistent — the default for most presets.
- Nano Banana Pro EditPremiumPremium photorealism — presentation-grade architectural detail.
- GPT Image 2 EditPremiumOpenAI's new generation — better understanding of long briefs.
- FLUX 2 Flex EditStandardPrecise with materials and facade texture — strong in the architectural photo palette.
- Seedream v4.5 EditMulti-referenceMultiple reference images — steer the scene with a moodboard.
Frequently asked
What architects ask about Add Realism
- Does the preset fully replace a V-Ray render?
- It's not a full substitute for a delivery-quality final render — the classic pipeline is still recommended for façade documentation or technical presentations in particular. But for early-stage variation, client meetings, portfolio images, and presentation documents, it delivers sufficient quality at a fraction of the time and cost.
- Does the composition stay exactly the same?
- The preset is calibrated to preserve composition. Camera angle, object placement, and room proportions don't change. In rare cases small objects (a vase, a book) may shift by a fraction; if that's critical, add 'preserve every object position exactly' to the brief.
- Is SketchUp LayOut or Enscape output supported?
- Yes, all raster image inputs are supported. Export a PDF from SketchUp LayOut and convert it to PNG first; you can use Enscape output directly. Lumion or Twinmotion viewport screenshots are also good starting points.
- Can I get more than one lighting scenario?
- Yes — run the same input render with two separate prompts: one 'warm golden hour,' the other 'cool overcast daylight' or 'blue hour evening.' Showing three lighting scenarios in a presentation meeting takes 3 preset calls (~9 credits).
- How many credits does the preset use?
- Add Realism uses 2 credits at its default setting. It's one of the most cost-effective presets — a good starting point for a comprehensive render-portfolio refresh.
- Can students use it?
- Yes — student packages are available on the /pricing page. Since it doesn't require a V-Ray license, it's one of the most popular presets for pre-jury render enhancement in student projects.
Presets used together
Companions to the Add Realism flow
3D View → Render
Turn a plain viewport capture from your modeling software into a photorealistic presentation render
Preset pagePreset · Change MaterialChange Material
When the client says 'what if this parquet were marble instead' — seconds, not minutes
Preset pagePreset · Sketch → RenderSketch → Render
From a hand-drawn concept sketch to a photorealistic image your client can approve
Preset pageTry the Add Realism preset for free
Generate your first render at no cost with the starter pack in the credit system.