
Change flooring, wall, or furniture material without re-rendering
The Change Material preset keeps your existing render's composition, camera angle, lighting, and every other element fixed, and changes only the material of a surface you specify. Instead of re-rendering in V-Ray for a client revision or an internal variation study, build a second-long revision cycle with the preset.
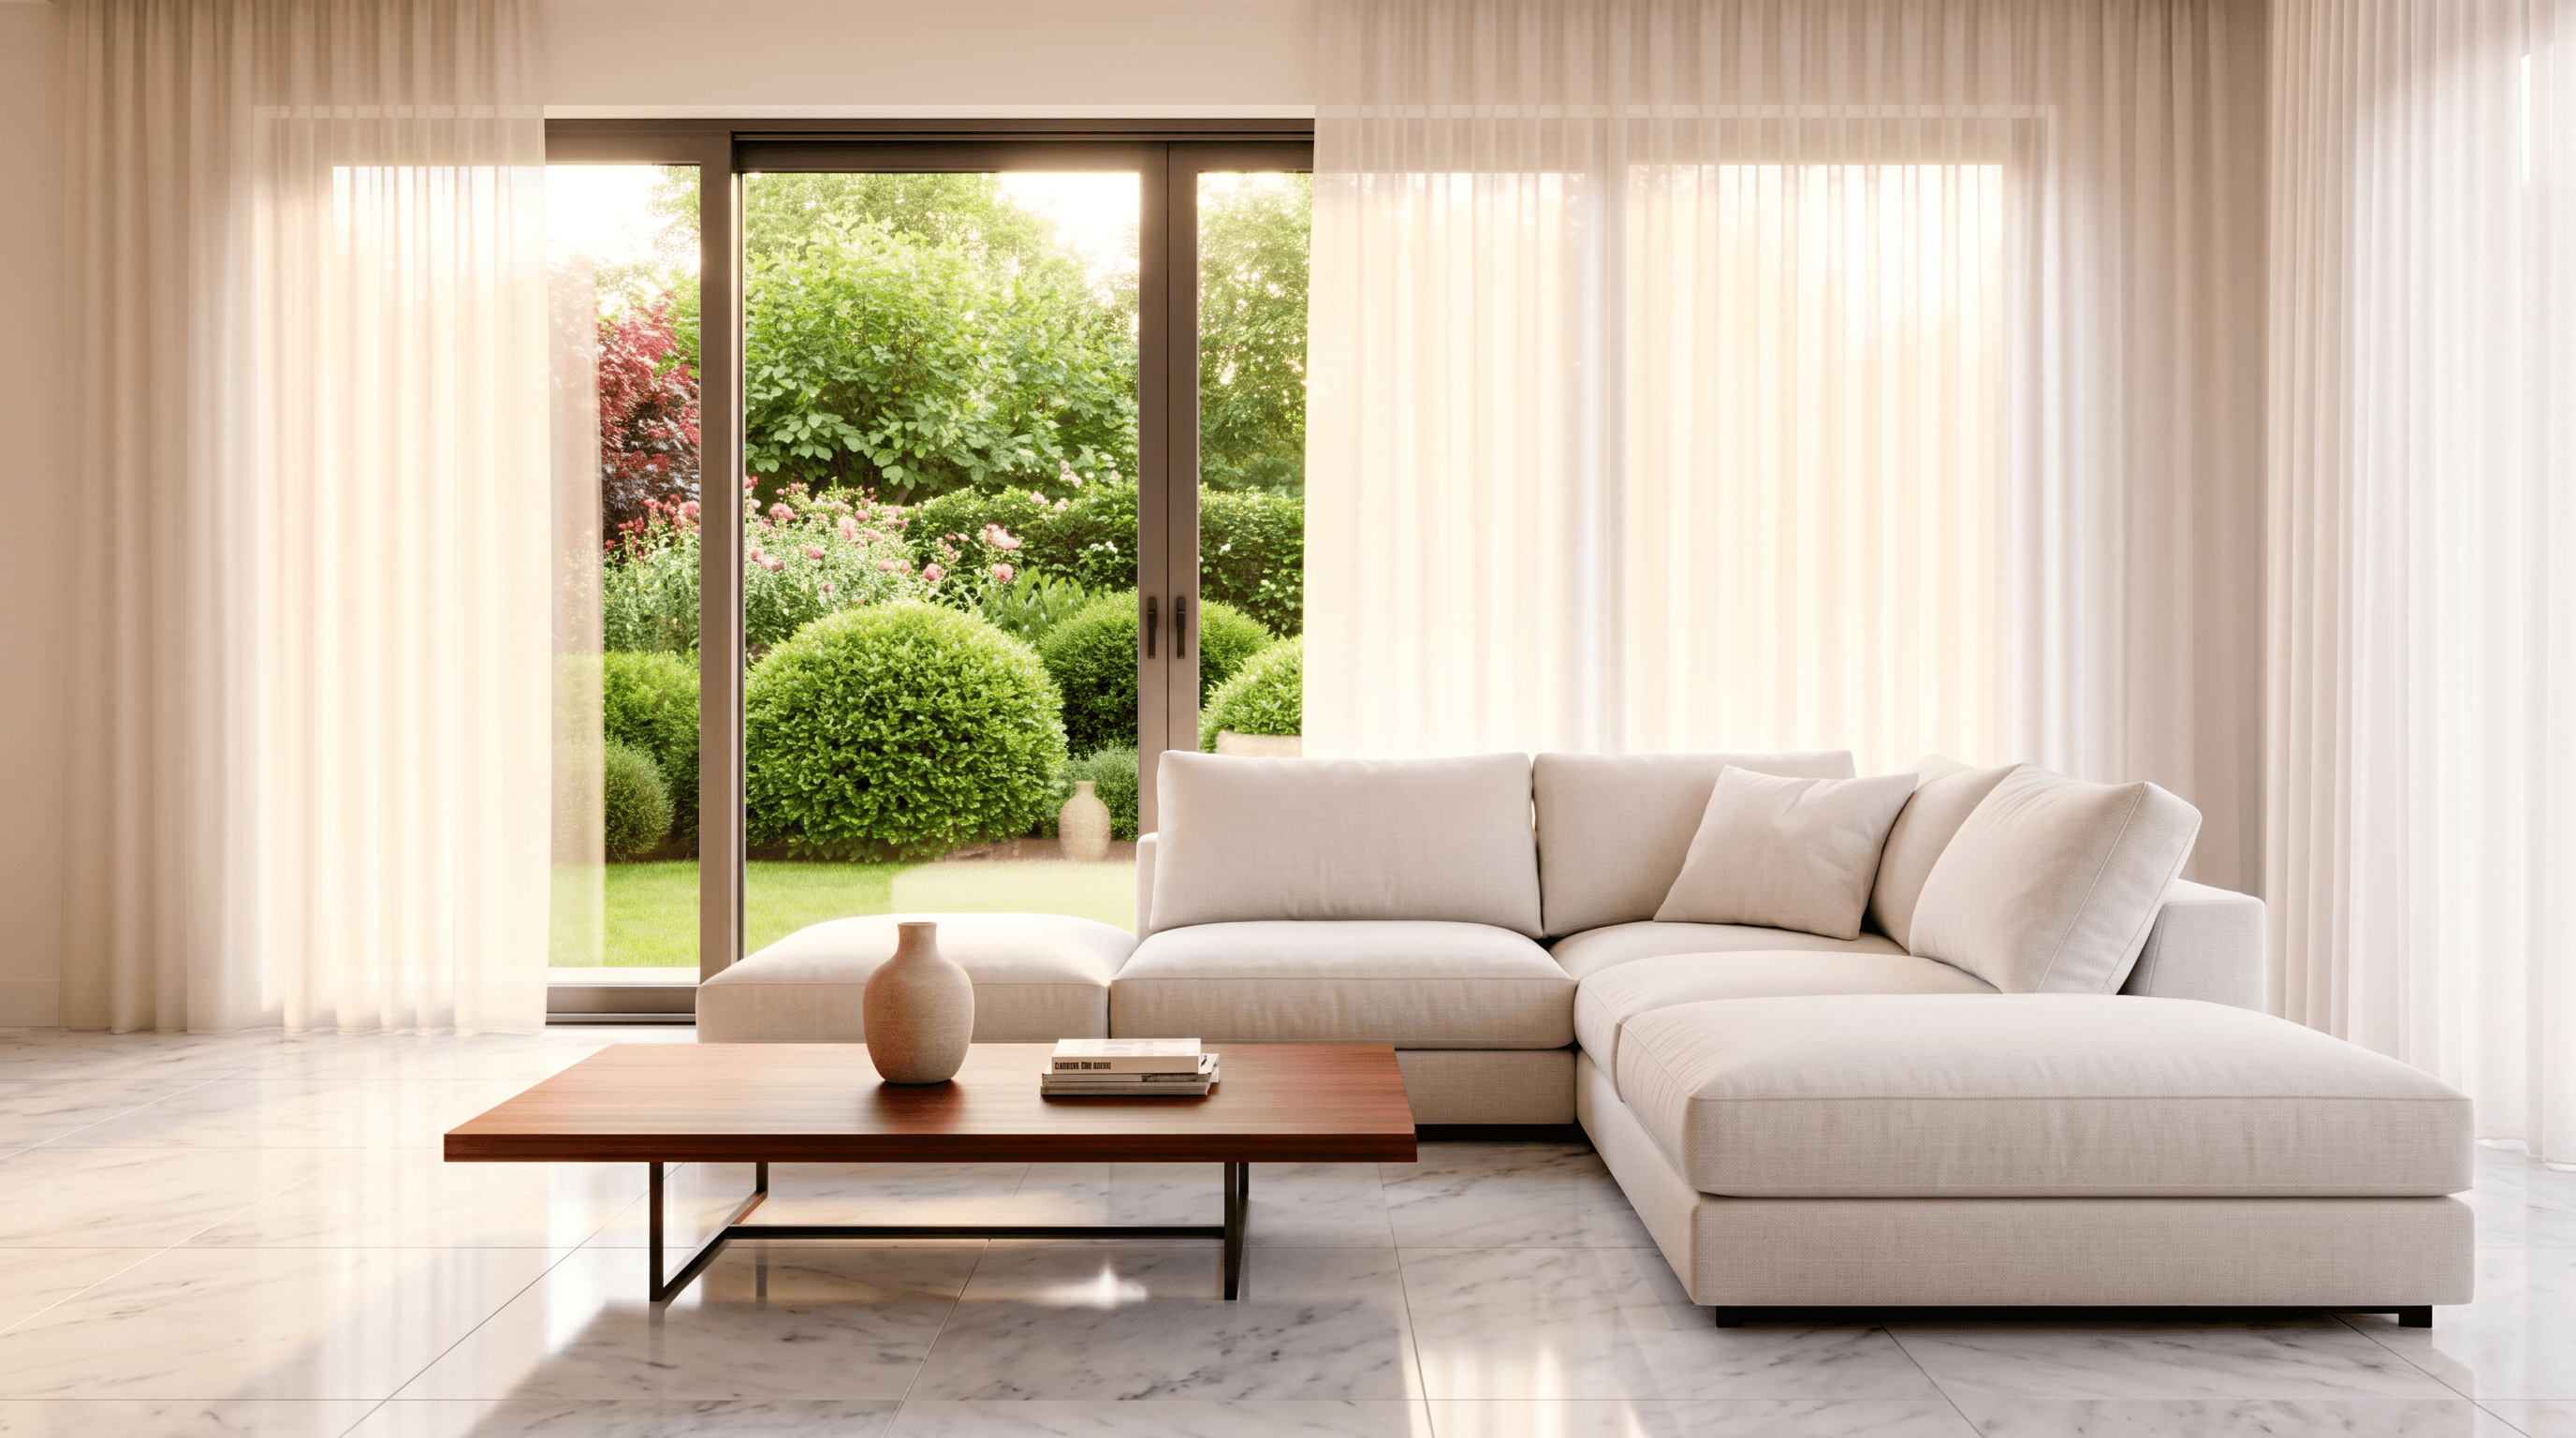
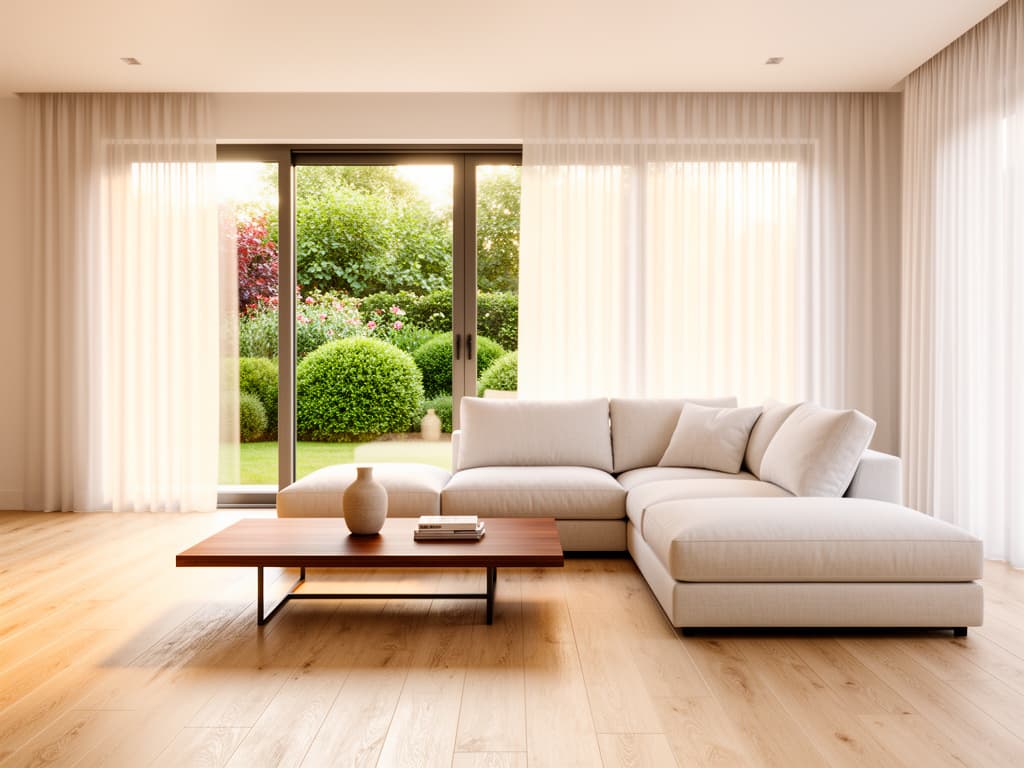
Why this preset
When the client says 'what if this parquet were marble instead' — seconds, not minutes
Quickly producing 'same render, different material' variations for a client revision. It earns its place in scenarios like these:
- Showing a live alternative in a client meeting (3 floors, 2 walls)
- A final check before material approval at an interior-design office
- 'Standard' and 'premium' package images for real-estate projects
- Producing three material variants from one render for portfolio variety
How it works · 4 steps
The Change Material pipeline, step by step
The classic workflow means V-Ray material editor + new UVW + test render + final render → 1-3 hours per variant; with the Syntina Change Material preset it becomes Render + preset + one brief → ~20 seconds per variant, no render settings touched.
- 01
Upload the render
Upload your existing photorealistic render. A Syntina output, a V-Ray render, or an architectural photograph all work. A 16:9 or 4:3 ratio is enough; upload at the highest resolution available.
- 02
Select the Change Material preset
Choose the preset from the panel. In the 'Object to Change' field, name the surface you want to change: 'flooring,' 'back wall,' 'kitchen cabinetry,' 'sofa.'
- 03
Define the target material
Write the target material in detail in the prompt: 'polished Carrara marble with soft grey veining and subtle specular reflection.' You can also upload a reference image if you like; the preset transfers the reference material to the target surface.
- 04
Download the variation
The same scene is ready with the new material in seconds. Repeat the process three times to show three material alternatives in a meeting.
Tip · Describe the target surface descriptively — 'wooden floor in the foreground' rather than just 'flooring' — since a scene may have more than one wood surface.
Tip · Metal-to-metal changes (brass → brushed steel) are harder for the preset; specify the light-angle reference in the brief.
Tip · When using a reference material image, choose a flat, evenly lit product photo consistent with the render's lighting — studio shots at odd angles can add noise.
Limit · Material changes on reflective surfaces (mirrors, glossy metal) may not carry through to neighboring reflections — manual correction may be needed for perfect accuracy.
Limit · The preset works on one surface at a time; use two separate passes to change both flooring and walls at once.
Limit · Very subtle material differences (e.g. two similar oak tones) can fall below the model's perception threshold — the preset performs best with clear contrast.
AI models · 5 options
Which AI models does Change Material run on?
You can run the same preset on different models — economical ones for quick drafts, premium photorealism for client presentations. Model costs are charged as credits; the credit system page lists the equivalents.
- GPT Image 1.5 EditStandardDefaultFast, economical and consistent — the default for most presets.
- GPT Image 2 EditPremiumOpenAI's new generation — better understanding of long briefs.
- Nano Banana Pro EditPremiumPremium photorealism — presentation-grade architectural detail.
- Seedream v4.5 EditMulti-referenceMultiple reference images — steer the scene with a moodboard.
- FLUX 2 Flex EditStandardPrecise with materials and facade texture — strong in the architectural photo palette.
Frequently asked
What architects ask about Change Material
- Does the composition stay exactly the same?
- The preset is calibrated to hold composition fixed; furniture placement, camera angle, lighting, and other surfaces don't change. In very rare cases, small elements (a window edge, a vase's shape) may shift by a fraction — not enough to notice even when zoomed in during a presentation.
- Is a reference material image required?
- No — a text description is enough. A detailed brief like 'polished Carrara marble with grey veining' gives a high-quality result without a reference image. A reference image adds extra control for users who want an exact material match.
- Can I get 5 material variants from the same render?
- Yes. Each variant is an independent preset call. Walking into a client meeting with 5 different flooring materials takes about 100 seconds and ~10 credits. The classic workflow would need 5-10 hours and a V-Ray license.
- Is this the right preset for changing furniture upholstery?
- The dedicated 'Change Upholstery' preset works more precisely for fabric — it preserves sofa and chair stitch lines. Change Material is general-purpose, suited to large surfaces like floors, walls, and countertops.
- How many credits does the preset use?
- Change Material uses 2 credits at its default setting. About 10 credits is enough for a client meeting with 5 alternatives. Credit plans are listed on the /pricing page.
- Is there any quality loss in the result?
- The preset produces high-resolution output; but under close comparison with the original render, very careful inspection may reveal micro-differences in surface texture or lighting consistency. It's indistinguishable at presentation quality; for A1 print, upscaling with the Enhance preset is recommended.
Presets used together
Companions to the Change Material flow
Add Realism
From the soft plastic look of a default render engine to a magazine-cover image in one step
Preset pagePreset · 3D View → Render3D View → Render
Turn a plain viewport capture from your modeling software into a photorealistic presentation render
Preset pagePreset · Sketch → RenderSketch → Render
From a hand-drawn concept sketch to a photorealistic image your client can approve
Preset pageTry the Change Material preset for free
Generate your first render at no cost with the starter pack in the credit system.