
Turn an architectural sketch into a presentation-ready render in minutes
The Sketch to Render preset takes your line work as the source of truth: it keeps the same perspective and the same massing proportions, adding only a layer of material and light to produce a render. You won't have to redraw last-minute variations before a presentation meeting.
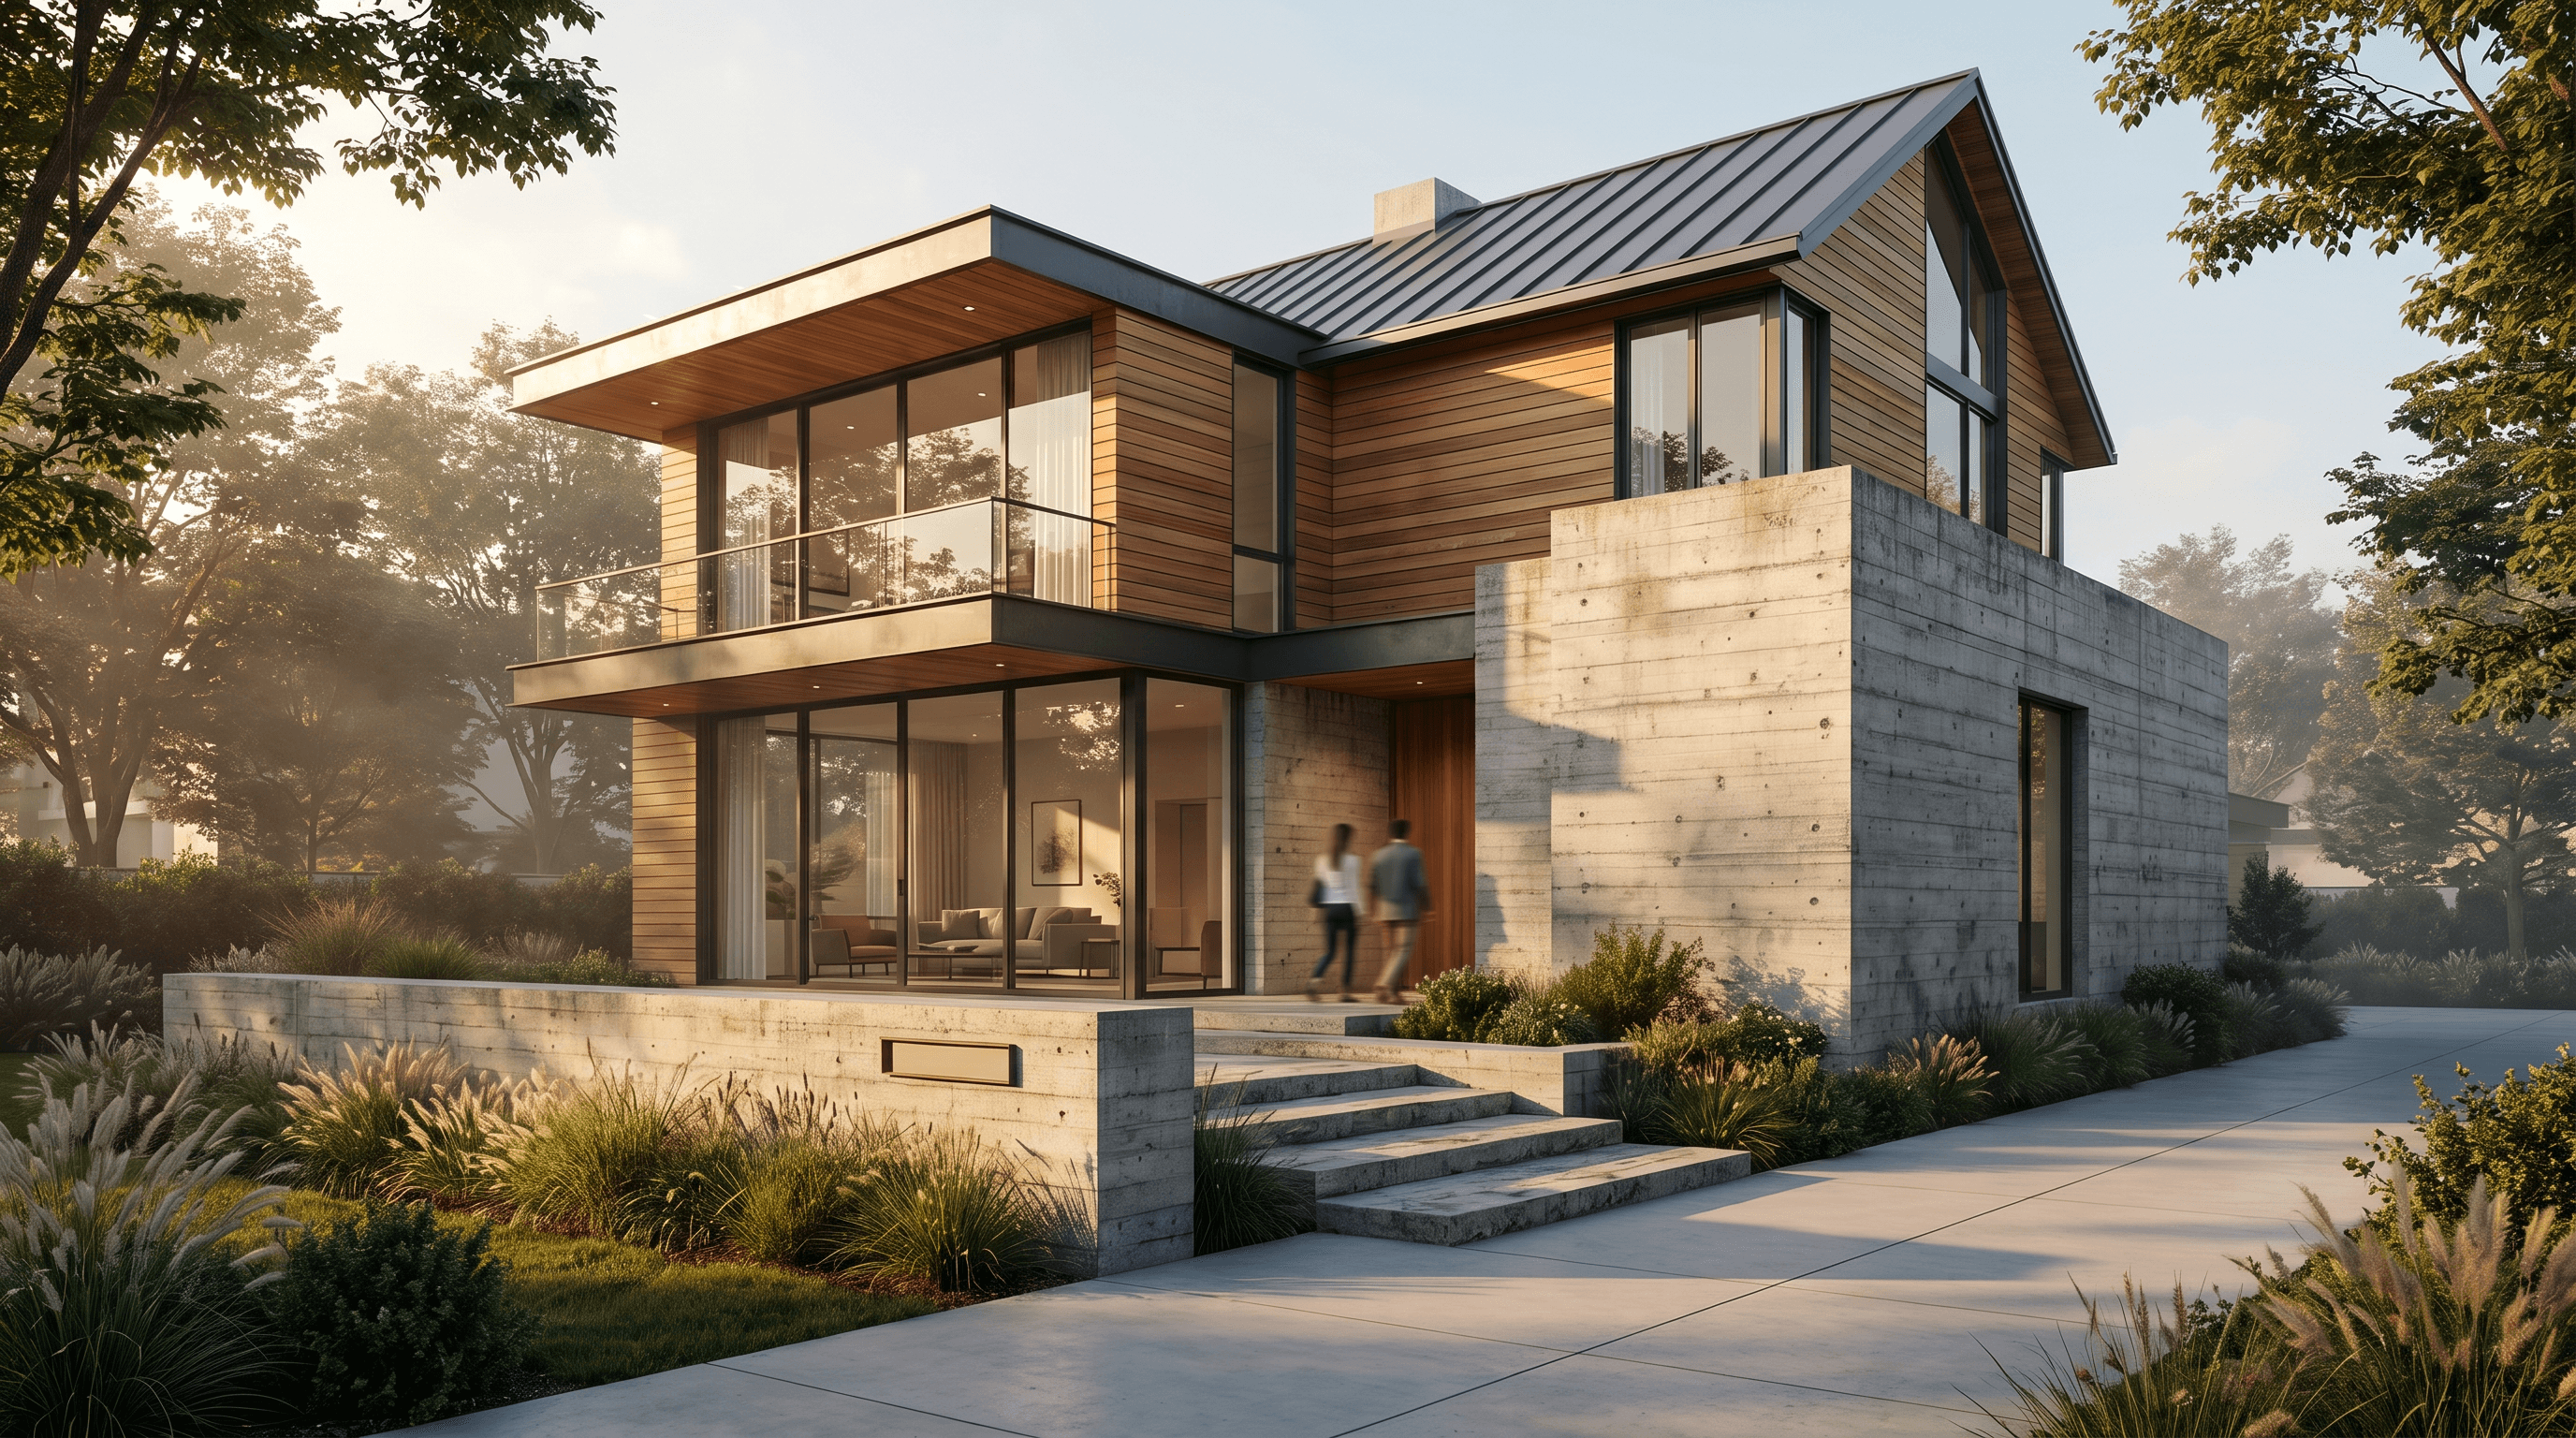
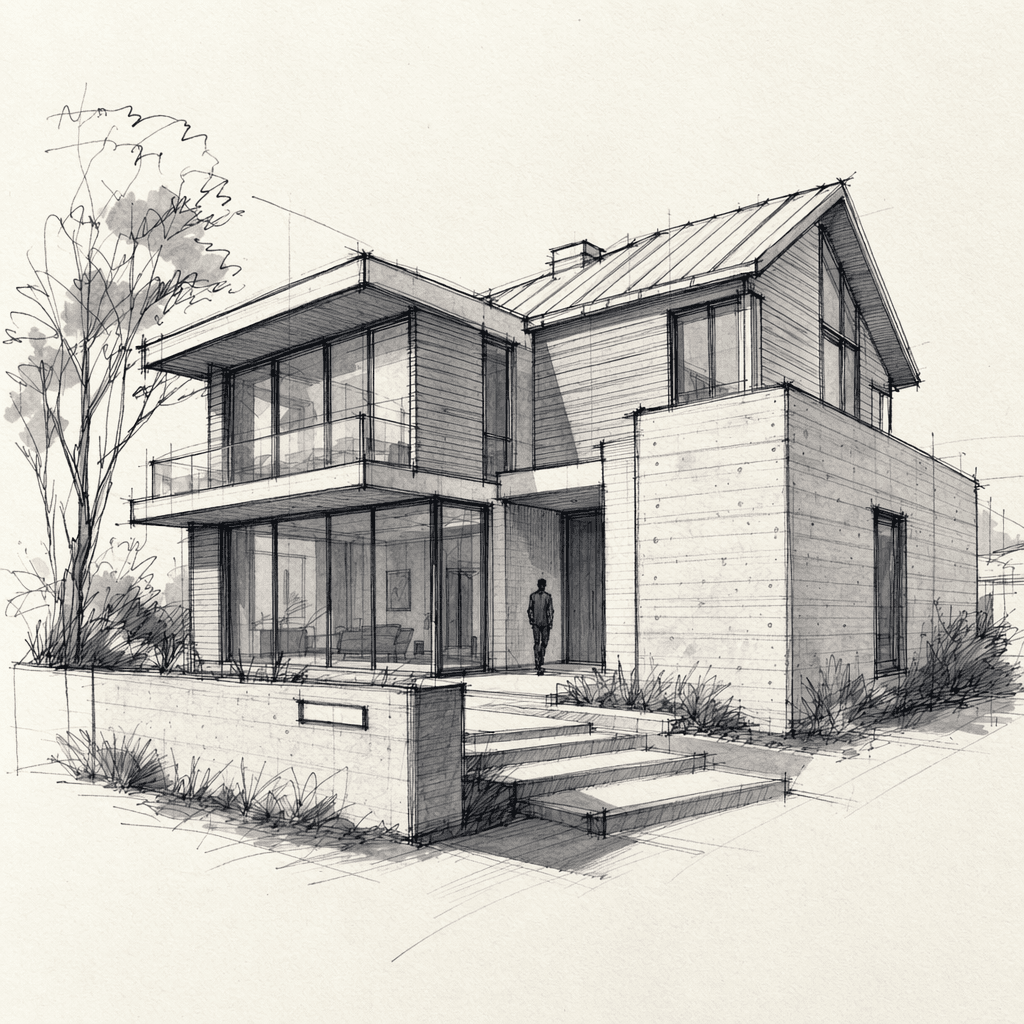
Why this preset
From a hand-drawn concept sketch to a photorealistic image your client can approve
Speaking the same visual language as your client at the concept stage — turning a sketch into a presentation. It earns its place in scenarios like these:
- Last-minute variations before a concept presentation
- Showing three façade alternatives quickly in a single meeting
- Bringing a studio sketch closer to a competition-panel image
- Producing fast photo-renders for student juries
How it works · 4 steps
The Sketch to Render pipeline, step by step
The classic workflow means Trace the sketch into SketchUp + assign materials + set up V-Ray + wait for the render → 3-6 hours of office time; with the Syntina Sketch to Render preset it becomes Upload the sketch + a brief + one preset credit → ~30 seconds, no modeling required.
- 01
Upload your sketch
Photograph the sketch you drew by hand, or drag and drop a scanned file onto the canvas. Use a smooth, shadow-free background — harsh lighting or a curled page can cause the model to misread your line work.
- 02
Select the Sketch to Render preset
Choose the 'Sketch to Render' preset from the panel. Add a short brief if you like: target season, time of day, light color, material family. The preset is calibrated to preserve the sketch's line language.
- 03
Clarify the tone and material family
A short description like 'modern, warm timber + board-formed concrete, golden hour' is a material choice for the model, not a composition decision. The camera angle stays fixed at this stage.
- 04
Download the render
Within seconds, a high-resolution version of your sketch is ready. It downloads as WebP and PNG, so you can drop it straight into a presentation PDF or a client email.
Tip · If the camera angle is unresolved in the sketch, the render will be unresolved too. Settle the perspective in-studio first, then send it into the render pipeline.
Tip · Sketches that are heavily shadowed or photographed in dim light can be misread by the model — reshoot in natural light instead.
Tip · Trying several material alternatives with the same sketch costs a couple of credits and is roughly ten times faster than redrawing from scratch.
Limit · The preset doesn't 'guess' what's behind a façade — details that aren't visible in the sketch stay ambiguous in the render too.
Limit · In sketches with heavy cross-hatching, the model can read shading as material; simpler line work performs better here.
Limit · If a sketch is very abstract (just massing lines), the result stays low on detail — legible, convention-following sketches perform best.
AI models · 5 options
Which AI models does Sketch to Render run on?
You can run the same preset on different models — economical ones for quick drafts, premium photorealism for client presentations. Model costs are charged as credits; the credit system page lists the equivalents.
- GPT Image 1.5 EditStandardDefaultFast, economical and consistent — the default for most presets.
- GPT Image 2 EditPremiumOpenAI's new generation — better understanding of long briefs.
- Nano Banana Pro EditPremiumPremium photorealism — presentation-grade architectural detail.
- FLUX 2 Flex EditStandardPrecise with materials and facade texture — strong in the architectural photo palette.
- Seedream v4.5 EditMulti-referenceMultiple reference images — steer the scene with a moodboard.
Frequently asked
What architects ask about Sketch to Render
- Will my lines get distorted in the render?
- No — the preset is calibrated to preserve composition and perspective integrity. Material, light, and atmosphere are added; massing and proportions stay as drawn. If you need more deliberate changes, iterate with a second preset (e.g. Change Material).
- Which kinds of sketches give the best results?
- Single-point perspective, three-quarter perspective, or elevation drawings work best. Very abstract concept loops or sketches full of explanatory annotations can give inconsistent results. In practice, traditional architectural sketches — paper, pencil, and grey marker — perform the strongest.
- How many credits does the preset use?
- Sketch to Render uses 3 credits at its default setting. Credit plans are listed on the /pricing page, with student and studio packages available.
- Can I get more than one variation from the same sketch?
- Yes. Running the same sketch with different prompts (e.g. 'winter atmosphere,' 'brown brick,' 'night view') to produce two or three variations is the fastest way to show a client alternatives in a meeting. Each variation is an independent call.
- Is the output print quality?
- The default output is 16:9 format at roughly 2K resolution. If you need a competition panel or a large print, run this render through the 'Enhance' (upscale) preset to reach 4K / 8K.
- Who owns the copyright?
- The generated image is yours — it's stored on Syntina, and commercial usage rights belong to the user. Use it freely in your office presentations, your portfolio, and client projects.
Presets used together
Companions to the Sketch to Render flow
3D View → Render
Turn a plain viewport capture from your modeling software into a photorealistic presentation render
Preset pagePreset · Add RealismAdd Realism
From the soft plastic look of a default render engine to a magazine-cover image in one step
Preset pagePreset · Change MaterialChange Material
When the client says 'what if this parquet were marble instead' — seconds, not minutes
Preset pageTry the Sketch to Render preset for free
Generate your first render at no cost with the starter pack in the credit system.